photos by Richard Schumacher
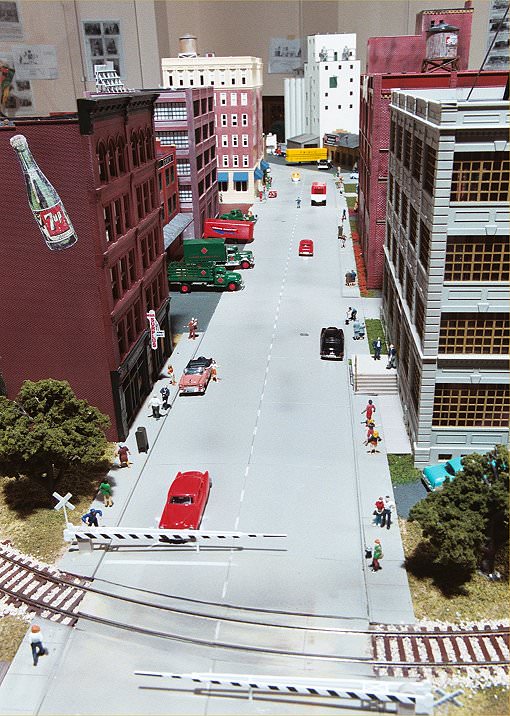
City street scene on the Missouri History Museum layout.
The Gateway Division has used the Walthers Cornerstone street systems on several of its annual project layouts and the project we built for the History Museum. These kits are available in red brick (933-3139) or concrete (933-3138) for a list price of $12.98 and are sections of street and sidewalks with curbs that can be arranged in a various configurations to fit a city scene. In HO scale, they contain approximately 25 linear inches of roadway in 10 interlocking straight sections that are 3-5/8″ long and 2-3/4″ wide. Two widths are joined by a straight riser, which forms a center crown in the roadway. In addition, four 3-5/8″ x 3-5/8″ sections can be used to create a four-way intersection. Two curb cuts, one for a driveway and one for an alley, two quarter circle street sections and matching sidewalks, and manhole covers, sewer grates, and fire hydrants complete the kit. A separate set of straight sections containing only 8 sections of streets with corresponding set of curbs is also available (concrete, 933-3155; brick, 933-3156 @ $11.98). In addition, street track inserts sized for code 83 track including straight sections as well as pieces for 15″, 18″ and 22″ radius curves and parts for #4 and 18″ turnouts (933-3140 @ $15.98) and grade crossings (933-3137 @ $6.98) complete the city look.
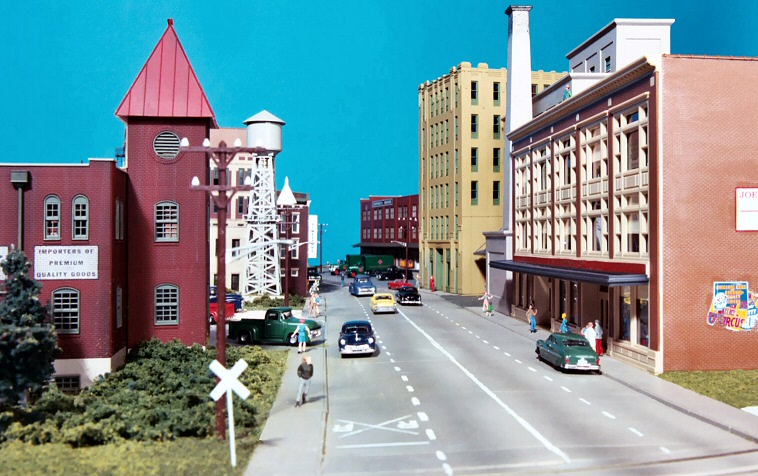
Walthers Cornerstone “Concrete Street” on the Gateway Central X layout.
Directions and drawings for assembling the streets and sidewalks are minimal, but relatively easy to follow. Parts should be separated from the sprues, cleaned of any remaining plastic flash, and test fitted. As with most Cornerstone kits, painting is not necessary but appearances are greatly improved by painting and/or weathering. The brick streets improve greatly with just a wash of India ink diluted with alcohol. Use your own judgment about when to paint, either before assembling the pieces or later in the project. With our project layouts we were able to turn the whole layout vertically and paint and weather the assembled streets, a luxury you may not have with a home layout. Careful gluing after painting individual pieces or air brushing assembled sections of street may be more successful.
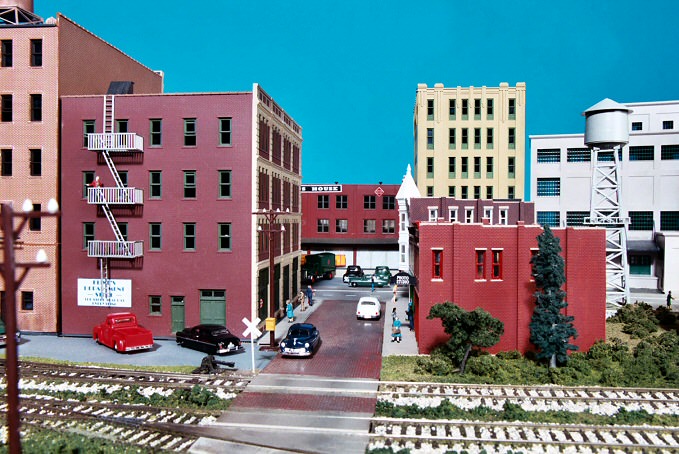
This two-lane brick side street ends at a four-lane concrete street.
Thought must be given to how buildings and track fit in with the streets. It is a question of what comes first. For the History Museum project, we had an intersection of concrete roadway, brick industrial streets or alleys near the track, streets crossing the tracks in several places, and a street going downhill below the railroad underpass. For this project, we started with the four-way intersection where placement was determined by the large buildings and the extensions to cross the tracks on three sides of the layout. The fourth direction going toward the underpass required that the top of the hill would start at the joint between two sections of the road. We did not try cutting sections for this joint. This product probably would not work well with a lot of up and down terrain and one must be careful about creating unrealistic steep gradients.
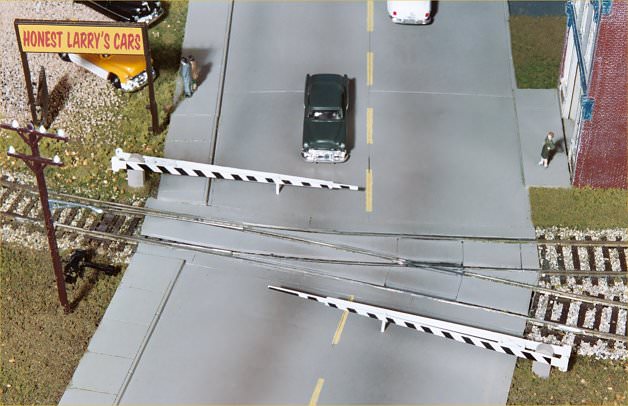
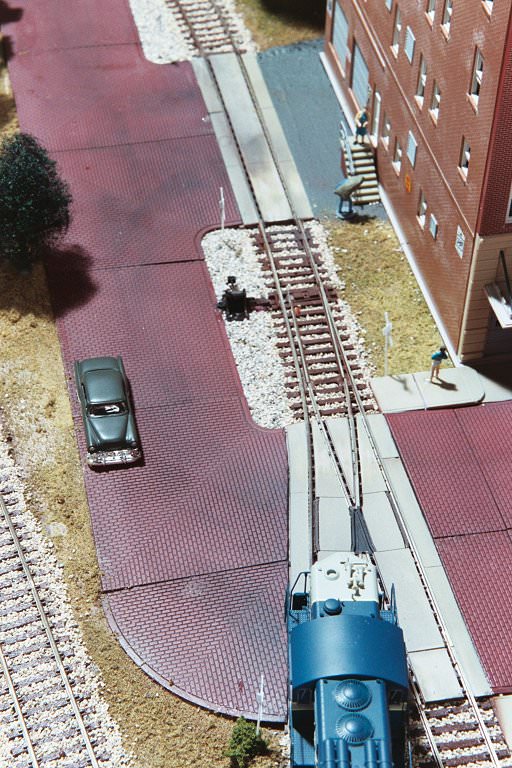
Grade crossing using Walthers street track sections.
We worked from the intersection toward the track and cut the sections of street adjacent to the track to fit. The street sections can be cut with plastic “nippers” and then filed or sanded. All of the street sections were test fitted and decisions were made about where manhole covers and sewer grates would be installed. Openings must be cut into the street so that manhole covers can be inserted from the bottom side. Both the road and the curb are cut to install sewer grates. Fire hydrants can be glued in later but drilling may be easier at this stage.
The kit directions recommend using a plastic cement to glue the plastic together. We found that it worked well to glue the road halves to the risers and where possible to glue several segments together before attempting to attach them to the layout. Diagrams and individual pieces should be carefully studied to fit them together properly before applying the glue.
Walthers Cornerstone “Brick Streets” and “Street Inserts” for grade crossings.
There are tabs on the road segments to make them fit snugly. Street pieces have a center side and a curb side. Sidewalks and curbs must fit together the proper way to provide the largest surface for glue. Sidewalks also should be assembled into larger sections and may be painted and weathered or ink washed before they are attached to the street sections and glued down to the layout.
The street sections can be glued down with a slow drying epoxy or a white glue like Weld Bond that will allow time to move pieces if necessary. We used a generous amount of caulked construction glue to grip the street pieces that are cupped for the center crown.
After the streets and sidewalks are installed, additional weathering down the center of traffic lanes, center lines, railroad crossing warnings painted on the pavement, stop signs or traffic lights, pedestrian crossing lines, and corner mail boxes are details that bring the city street scene to life.


