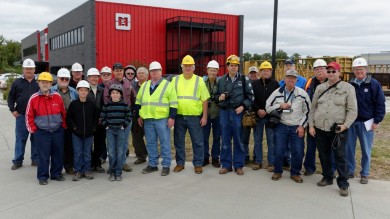
Metro East Industries Tour
Members of the St. Louis Chapter National Railway Historical Society and the Gateway Division NMRA toured the locomotive repair facilities and paint shop of Metro East Industries, Inc. on Oct. 3, 2015. MEI is a family owned and operated business that repairs locomotives and freight ca...
Read More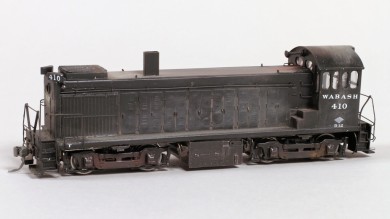
Scratchbuilding a Lima-Hamilton Diesel Switcher
John Carty describes the steps to create an HO scale model of a Wabash Lima-Hamilton diesel switcher....
Read MoreTricks for Tracks – Painting Wheels
An easy way to paint wheels is to use the Floquil markers. Hold the wheel and twist the marker around the wheel. Hold the marker at a slight angle to avoid painting the axle points....
Read More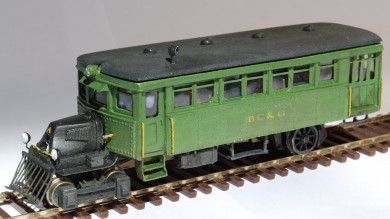
Building the BC&G Railbus A
Scratch-building a working HO scale model of a BC&G 1921 Mack Model AC Railbus....
Read More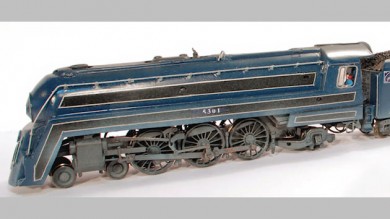
Building the B&O P-7d “Cincinnatian” Locomotive
In 1946, four class P-7 Pacifics were streamlined at the B&O Mt. Claire shops for service as P-7d’s on the Cincinnatian train operating between Baltimore and Cincinnati. A brass model has been imported, but since it is beyond my engine budget I choose to build one. This article chroni...
Read MoreWabash #573 Locomotive Restoration Effort
The Saint Louis Chapter of the National Railway Historical Society is seeking funds to cosmetically restore this steam locomotive. Built by the Rhode Island Locomotive Works, this 2-6-0 Mogul-type freight locomotive was retained for two years after had become dieselized because of a b...
Read More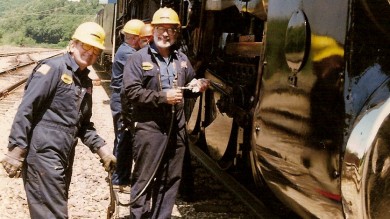
Frisco 1522 Steam Train Adventures
Fond memories of the rebuilding and operation of the Frisco 1522 Mountain steam locomotive....
Read More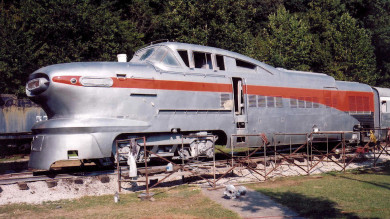
Aerotrain Restoration
The cosmetic restoration of the historically significant Aerotrain in the collection of the St. Louis Museum of Transportation is well underway. This project was funded by a donation from the Gateway Division NMRA....
Read MoreRecent Articles

Copyright © 2020 Gateway Division NMRA. All rights reserved. | Website Info | Legal Notices