originally published in the Caboose Kibitzer
photo by Richard Schumacher
It goes without saying that model railroading can be a very exacting hobby. It all depends on how well detailed you want your locomotives, rolling stock, structures, scenery and/or trackwork. Some modelers are very particular in one or two phases, while a few are extremely rigid in all aspects of the hobby. One of my areas happens to be trackwork and I don’t mind saying that I enjoy it. My railroad stands to verify this statement by the fact over 600’ of the track is hand laid. Also, about 60 of my 157 turnouts are scratchbuilt. Now let’s get down to the nitty-gritty.
First of all, let me get one point across – hand laid track is not very difficult, but it is very time consuming. Also, don’t plan on saving a lot of money as the materials for hand laying track will run about as much per foot as flex track. Hand laid turnouts, however, can save you quite a bit of money.
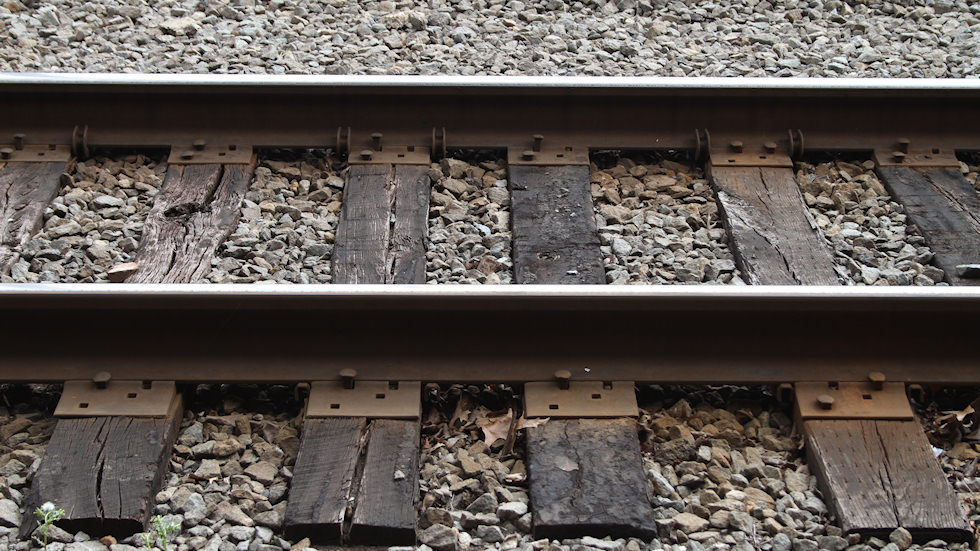
Wood ties are pretty easy to come by, depending on what brand you select. I started out using Kappler, then all of a sudden they became scarce. Only by checking every hobby store I came across during my travels was I able to keep from running out. In selecting your ties, make sure you use the correct size and type for the era you are modeling. Ties have increased in size since the days of steam, so if you are into the more modern era of railroading it might help to check tie size with the railroad you are modeling.
The size of rail to use is strictly up to you. I have been using code 100, but if I had it to do over again I would have gone with code 83. It is a little more realistic in size and gives the point rails in hand built turnouts a lot more flexibility. Rail can be purchased already weathered or plain if you want to do your own weathering. Micro Engineering weathered rail was my choice, and saved a lot of time by not having to paint it. It is sold in 99’ bundles of 33 three foot lengths.
Spikes must be thin enough so as not to split the tie when you drive them in. Micro Engineering spikes were my choice as their small size doesn’t look like you used ten penny nails to spike your track. If you are fortunate enough to own or have access to a Kadee spiker, the use it! This will also save you a considerable amount of time.
Once you have accumulated the materials, you can start your project. I found that laying each tie individually was too time consuming so I manufactured a jig. Using a ¼” by 3″ by 2’ piece of basswood for the base, I glued a ¼” square piece along the length of one side. This serves as a backstop as I lay the ties in the jig. Using scale 2″ x 12″ lumber, I glued 1¼” pieces perpendicular to the backstop, spacing them so that a tie could be laid between each one. This jig allows me to lay a tie between each strip, using the backstop to keep them even. By applying masking tape to the tops of the ties, I can lift a two foot section of ties from the jig ready to be glued into place.
Using a straight edge, draw a guide line on your choice of roadbed. I chose Homa-bed for its ability to hold spikes in place. The ties I used were not all exactly the same length, so I made sure the ends that were against the backstop of the jig were laid on the guide line. If you are laying a curve, it will be necessary to cut a spline about halfway through the tape at every second tie. This allows the ties to “lay into the curve.” Full strength Elmer’s white glue was my choice for gluing the ties to the roadbed. After the glue has thoroughly dried, you must sand the tops of the ties with a sanding block to make sure the tops of all the ties are of uniform height.
There are several tie stains available, but I chose “Liquitex” acrylic Mars Black. One, two ounce tube will stain a lot of ties. I dipped a ¾” brush in water, then dabbed it into the paint that I had squeezed onto a coffee can lid. Then I applied it to the ties, brushing it on the ends first, then the tops, checking to make sure that the sides are covered as well.
Spiking the rail to the ties is the most time consuming part. NMRA standards call for rail to be spiked to at least every fifth tie. This gives the rail the solidness it needs to hold it in place. Start laying the rail by making sure it is centered on the ties. In other words, make sure you have an equal amount of tie sticking out on the sides of both rails. Rail gauges come in all configurations and you can pick the ones that best suit you.
Start by laying two lengths of rail on the ties separated by the rail gauges. Spiking only one rail at a time, you can use a straight edge or “eye ball” it as I did. This “eye ball” talent is one of the gifts I got from my Dad. When laying the first rail of the pair, I spiked every tenth tie, then went back and got the fifth ones in-between. This seemed to cut a little bit of the time. When spiking the second rail, make sure you don’t have the rail ends directly across from each other. I like to have about eight to ten inches separating the rail joints. Use your NMRA track gauge as you go to ensure the proper distance between the rails. I have found that a pair of needle nose chain pliers is best suited for driving the spikes. Make sure that the spike goes straight down into the ties so that it doesn’t interfere with the one coming in from the other side of the rail. Of course, when laying any rail, always make sure that there is a slight gap at the rail joiners to allow for expansion and contraction. I like to use a business card as it has just the right thickness for this gap.
Soldering electrical drops to weathered rail can be a little tricky. You must burnish the rail where the drop is to be soldered or it won’t stick. A moto-tool with a wire wheel will allow you to get down to the bright metal without damaging the rail. You can paint the solder roof brown to cover up the shininess.
With a lot of patience you can lay rail as good or better than anyone else. Modelers who see my railroad for the first time just shake their heads and tell me what a glutton for punish-ment I am. But I did it and I’m durn proud of it. And be sure to wear those safety glasses when you are using any power equipment or driving spikes. The spikes have, at times, been known to pop out of the jaws of the pliers. Till next time, there ain’t nuthin phunner than bein’ a model railroader!!


