I. Ties
A. Glue down ties
B. Stain ties
C. Sand ties
D. Restain ties
E. Cut slot for points through bar
II. Rail
A. File a notch in the stock rails for the points
B. File point rails
C. File frog point rails
D. Cut guard rails
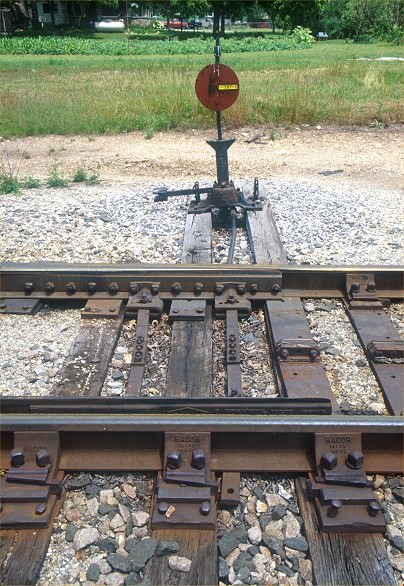
Prototype Turnout Detail
III. Laying rail
A. Spike straight stock rail
1. Spike every other tie
2. Do not spike at point and guard rails
B. Lay Straight frog point rail
1. Gauge with a three point gauge and spike lightly
2. Do not spike within one inch of the frog point
C. Lay curved point rail
1. Spike lightly at the desired frog angle number
2. Do not spike within one inch of the frog point
D. Lay curved stock rail
1. Gauge with three point track gauge at the curved frog rail and the track leading up to the points
2. Do not spike at points or guardrail
E. Using standards gauge move the frog points back and forth until they are in gauge with both stock rails
F. Lay straight point rail in place using a three point track gauge
1. Bend frog end of the point rail to form the frog wing rail
2. The bend should be so the point rail and the straight frog rail are in a straight line
3. Bend the very end of the wing rail out and file a bevel on the top inside of the rail head
G. Spike straight point rail in place
1. leave one and one half to two inches of the point end of the straight point rail free to move
2. Roll a truck through the turnout and make adjustments
3. Roll a car through the turnout and make adjustments. If every thing is in alignment and in gauge the car should roll through the turnout without picking the point of the frog.
H. Repeat steps F and G with the curved point rail. It will be more difficult with the curved point to get the car to go through without a guard rail, but don’t worry if it doesn’t go through every time as the guard rail will fix it when it is installed
I. Install guard rails
1. Use standards gauge to make sure the wheels do not pick the point of the frog. This is done with the flange ways end of the standards gauge.
2. Make sure the flange ways are the right size
3. Spike stock rail and guard rail in place
4. Roll truck through turnout and make adjustments
5. Roll car through turnout and make more adjustments
J. Solder frog and guard rails. Use rosin core solder to fill the flange ways
K. Using files or a piece of hacksaw blade to clean solder out of the flange ways
L. Check again with standards gauge, truck, and car.
M. Install point through bar
1. Cut a strip of PC board about the width of a tie and about two inches long
2. Clean the tarnish of the copper by filling or sanding
3. Place in through bar slot and wedge up against the bottom of the stock and point rails.
4. Using standards gauge space the points using the point tabs on the edge of the gauge
5. Mark the point positions on the copper
6. Remove the through bar and file away the copper outside of the marks for the points
7. Replace the through bar and wedge it in place
8. Solder points to through bar
N. Roll truck and car through the turnout again and make any adjustments
O. Run loco through the turnout and make any adjustments
P. Install your choice of turnout through
You have just finished the turnout and are one third of the way through the scratch built track work requirement for the AP program. I hope this will be of help to you as you work to improve your modeling skills.


