photos by Richard Schumacher
Preiser “Unpainted Passers-by/Spectators” 590-16343
Life-Like “Construction Scene” 433-1322
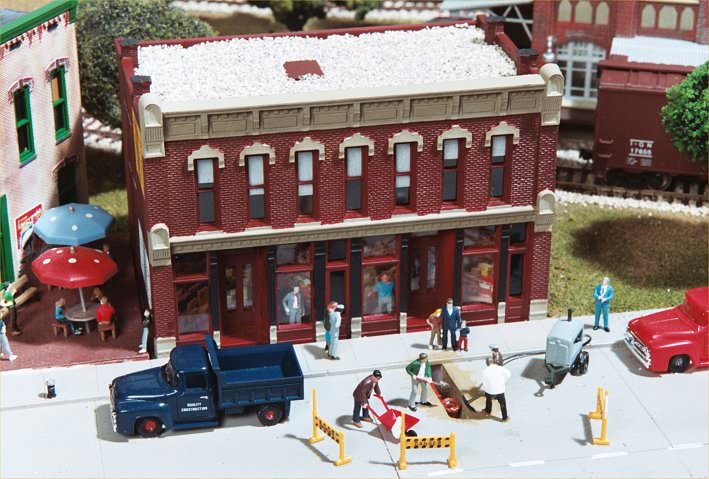
HO scale people, Preiser “Unpainted Passers-by/Spectators” and Life-Like “Construction Scene” on the MHS model railroad.
The figures on the History Museum project are from a kit of 120 unpainted figures. Figures can be purchased already painted, but are often very costly ($1 to $3 each). I prefer to purchase the unpainted, which come in several kits: trades people, passengers, drivers, pedestrians, etc. For this display I used the passers by/spectators kit from Preiser (590-16343; $24.99).
The process of painting the figures is fairly simple. There are several important points to be aware of:
- The molded plastic figures have a production oil film which needs to be removed with a mild detergent and warm water, and then allowed to dry thoroughly.
- Do not touch the surface you will paint. Handle the sprue to which the figures are attached.
- The figures should not be removed from the sprue until they are painted and completely dry.
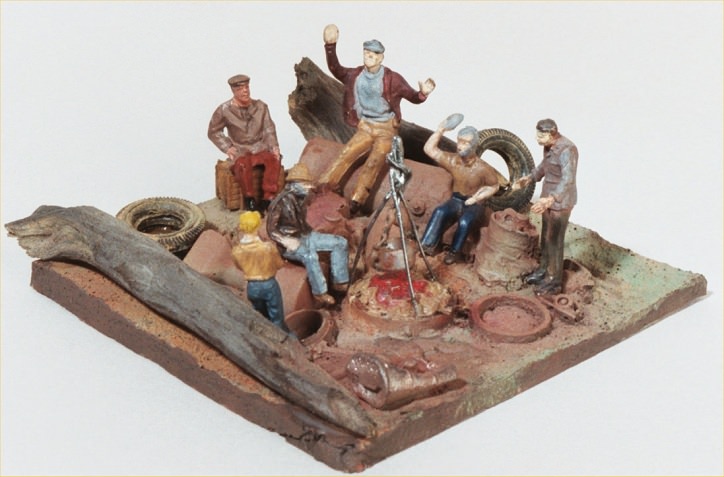
HO scale figure painting example.
Before you can begin to paint you need the necessary tools.
- These figures are painted with acrylic paints from Polly Scale and Model Master. I prefer several skin tones: light, medium and dark. Besides the skin tones, I used the following colors: white, tan, light blue, gray, red, black, brown, dark blue, orange, green, yellow and olive green.
- The next step is brushes. Purchase a good grade of brushes for acrylic paints, #1, #0, #5/0. For small details (ties, belts, suspenders) use a #10/0 brush.
- Begin painting by painting everything that is going to be the same color. After this is dry choose the next color. Wash the brush thoroughly before going to the next color.
- Once all the figures have dried completely, cut them from the sprue with a sprue cutter or a hobby knife with a #11 blade and touch up the cut off spots.
- The figures can now be mounted several ways: Glue into place with the appropriate glue or epoxy. Or if you are not sure where you want to position the figures, you can use theatrical wax on the feet to set them. You can then move them to the position you like best. Once you decide the permanent position, clean the wax from the figure and glue it in place.
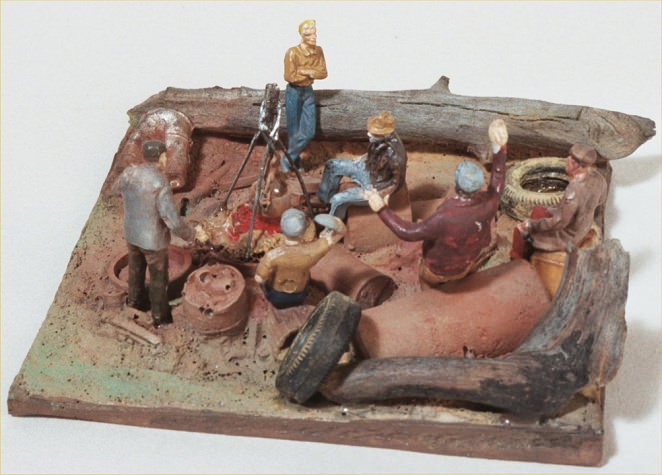
Another view of the HO scale painted figures diorama.
Initially this may seem like a very difficult project, but after a little practice it becomes very easy. I normally complete a 120-figure kit in six evenings.


