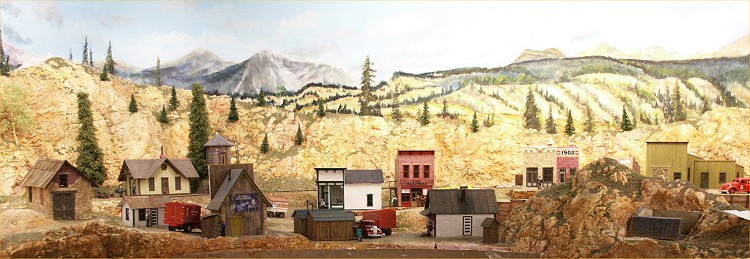
Panoramic view of the town of Richville (under construction) on the new C&RM railroad.
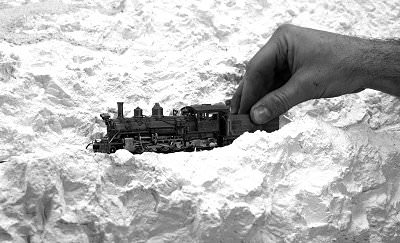
Well, are you getting “snow blind” yet from all those white rocks that you have made since my article about rock casting? Don’t you think it is about time to add some color? Adding a little color will bring the rock castings to life. The colors add shadows and highlights that will give the rocks depth and detail. To bring this out, we will need to use more than one color. As Jim Wild and Dwane Esterling say in their clinics, “Nature is not monotone.”
Adding a little color will bring the rock castings to life. The colors add shadows and highlights that will give the rocks depth and detail.
When you look at a rock closely, you will see different shades of the same color that make up that rock. If we have a whole hillside of rock, think of how many different colors, and shades of those colors, you could see. If we only use one or two colors for our scenery, we cannot hope to achieve a realistic mix of colors to copy nature.
Several materials can be used to color rock castings. We could use clothes dyes, artist oil paints, latex house paint, artist water colors or artist acrylic paints. All of these have advantages and disadvantages. Of those I have tried myself, I like the artist acrylics best. I prefer them as they can be cleaned and thinned with water, come in a wide range of earth colors, are non-toxic, and do not have an odor.
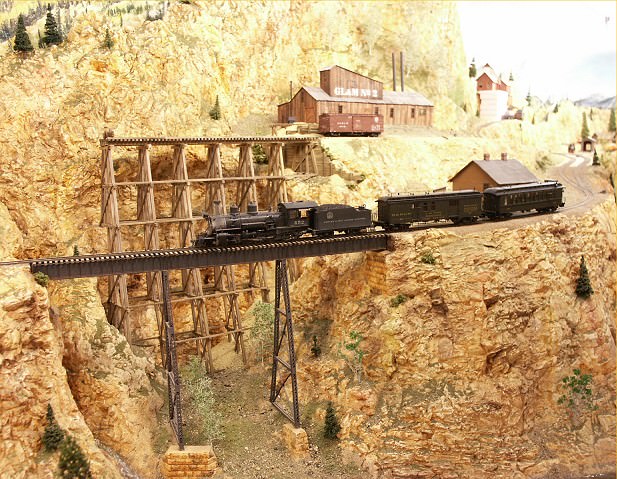
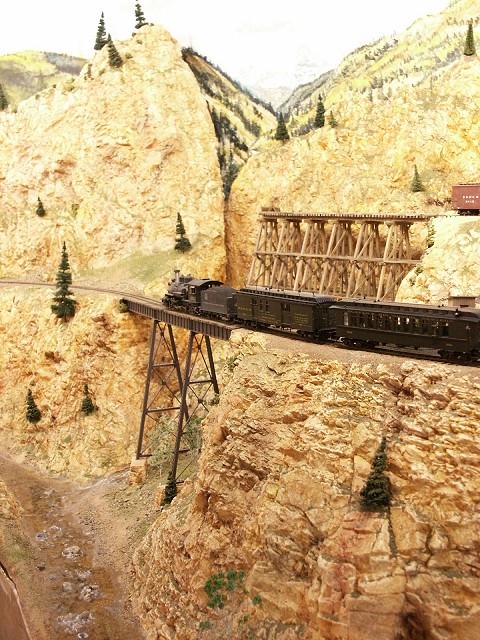
Impressive steel trestle on the new C&RM model railroad.
Artist acrylics do have a disadvantage of being slightly more expensive than some of the other coloring agents. However, I believe the advantages greatly outweigh the minimal extra cost. Although I will explain how to color rock castings with these acrylics, the technique I use can be applied to any of the color mediums, so feel free to experiment with any other type of paint or stain with which you are comfortable.
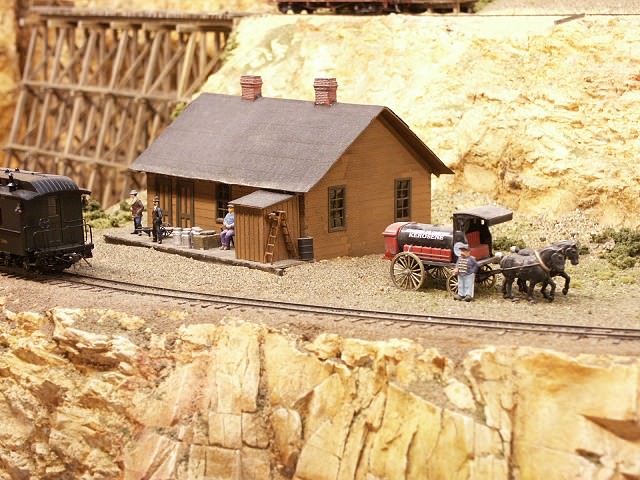
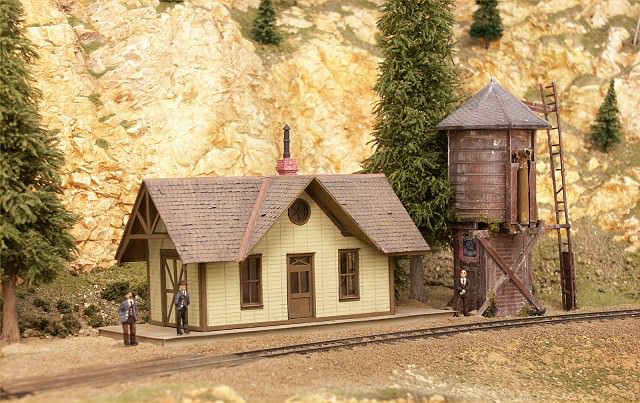
Depot downhill from a large ore mine on the new C&RM RR.
Before we can start coloring our rock castings, we first need to clean up the mess made by the casting process. Pick and sweep up all of the loose chunks and chips of plaster that you broke loose when you carved and blended the rock castings together. Make sure to save those broken pieces, as they will be used in the ground cover part of the scenery process. Next, pull up the tape covering the track. This will pop loose a lot of the soft plaster that washing down onto the track during casting. Vacuum up the remaining plaster dust from the entire area. This plaster is discarded because it is too soft to make good ground cover.
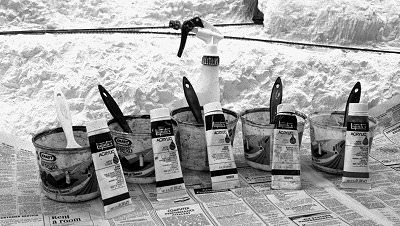
Southwestern Colorado scenery colors: raw sienna, burnt umber, raw umber, burnt sienna, and yellow oxide.
Southwestern Colorado scenery colors: raw sienna, burnt umber, raw umber, burnt sienna, and yellow oxide. The spray bottle of plain water washes excess color from the scenery. Make sure to check that you have enough clearance for your equipment before you start coloring. I push my largest engine over the track, constantly checking to make sure it clears all the rockwork. Where it does not clear, chip away the plaster until it does clear. Clean the track, and run the engine through under its own power several times just to make sure everything will clear. Vacuum the area again, and then you are ready to begin coloring the rock castings.
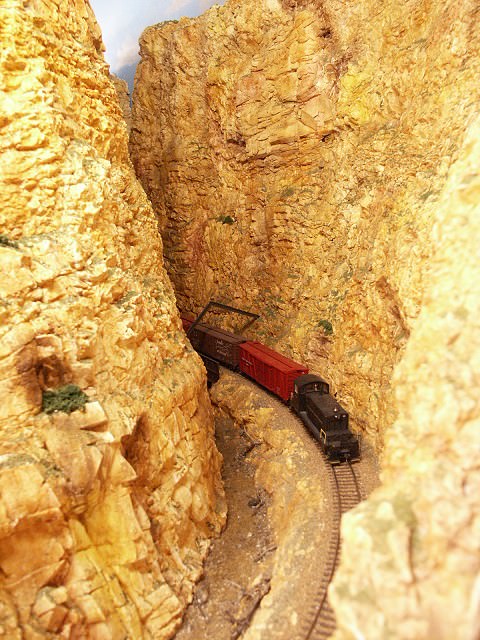
A train winds its way through the D&RGW Royal Gorge on the standard gauge portion of the new C&RM.
As most of you know, I model southwestern Colorado. For me this means the rocks are shades of brown, rust, and yellow. Those of you who model other parts of the country may wish to substitute other colors. For example, modelers wanting gray rock would substitute Mars black for the raw sienna. A small detail you could add is a green shade to the rocks along a stream or other wet area where moss would grow. This is done by brushing a thin wash of a mossy green color over the final rock color. Use your imagination to come up with other color details you can add.
Before I begin coloring the rocks, I mix up a very thin stain of each of the colors I will use. This thin stain will be used as a guide for the final coloring step later on. I dab these thin stains onto the scenery. Working in an area of one or two square feet, I first use the yellow oxide and burnt sienna. Because these two colors are bright, I use them sparingly as highlight colors on some of the protruding rocks.
Washes of various colors creates realistic model railroad rocks.
Next add the shadow detail with the burnt umber stain. This is brushed under rock overhangs, into deep cracks, and any other piece that would be in shadow. This gives depth to the scenery.
The remaining area of the rock is stained with thin washes of raw umber, raw sienna, and a little more burnt umber. Apply these in a random over-lapping manner. I try to keep the colors from being distinct patches by overlapping, blending, and shading from one color to another.
Train station stop at Richville on the new C&RM railroad.
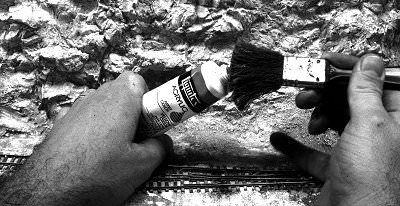
Squeeze the paint tube until paint just comes out. Gently rub the brush over the paint.
Now that you have an idea of where you want the colors to go, you are now ready to put the final color on the rocks. Use a wet brush and the acrylic colors straight from the tubes. The brush is first dipped into the stain of the color you are using. Then squeeze the tube of paint so that the paint barely just barely comes out of the tube. Gently rub the wet brush over this paint. Then, to dilute the paint on the brush a little more, dip the brush back into the stain. Smear the diluted paint over the same area that had received the light stain earlier.
Acrylic colored rock castings on the new C&RM model railroad.
This paint stain mixture will produce a color that is not too dark. However, if you get too much paint on the brush, and the color on the scenery gets too dark, lighten it a little by squirting it with clean water from a spray bottle.
After covering all the spots of stain with the thinned paint from the tube, use the raw sienna stain to wash over the entire area. This tones down the brighter colors and blends them all together. This area of scenery is now colored, and you can move on to the next section of uncolored scenery.
As you are working, keep two things in mind. First, railroad room lights are not as bright as sunlight. An second, keep in mind that much of the rock surface will be covered with ground cover. Both of these things tend to make the color you put on the rocks darker than it actually is. Therefore, it is very important to darken colors by adding more stain. It is much easier to darken the colors than it is to lighten them. If everything goes wrong, and you get the color too dark, spray a mist of bleach on the dark area to lighten it. I have not tried this myself, but I have read and heard that it works.
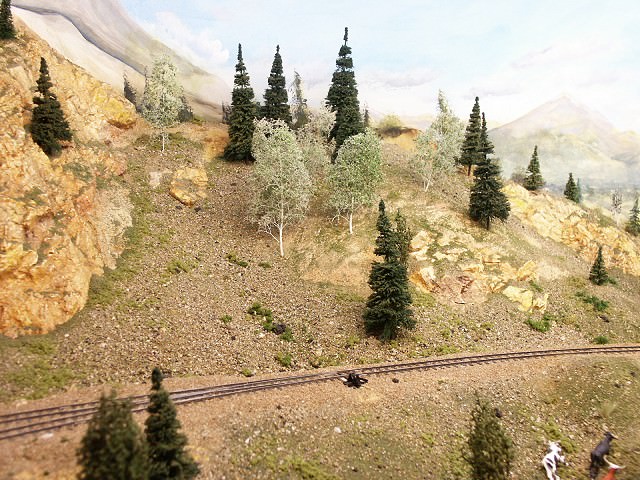
Hillside showing a variety of ground cover materials, including authentic Colorado rock!
This coloring process can also be used on flat surfaces and rolling hills. The variation of color shows through the ground cover added later. This gives the ground a very natural appearance.
I hope this article will help you as you work towards more realistic scenery.


Thanks for posting this article. Excellent photos and very complete. I have done this process but you bring up some very good points I didn’t think about. Wonderful. Kent